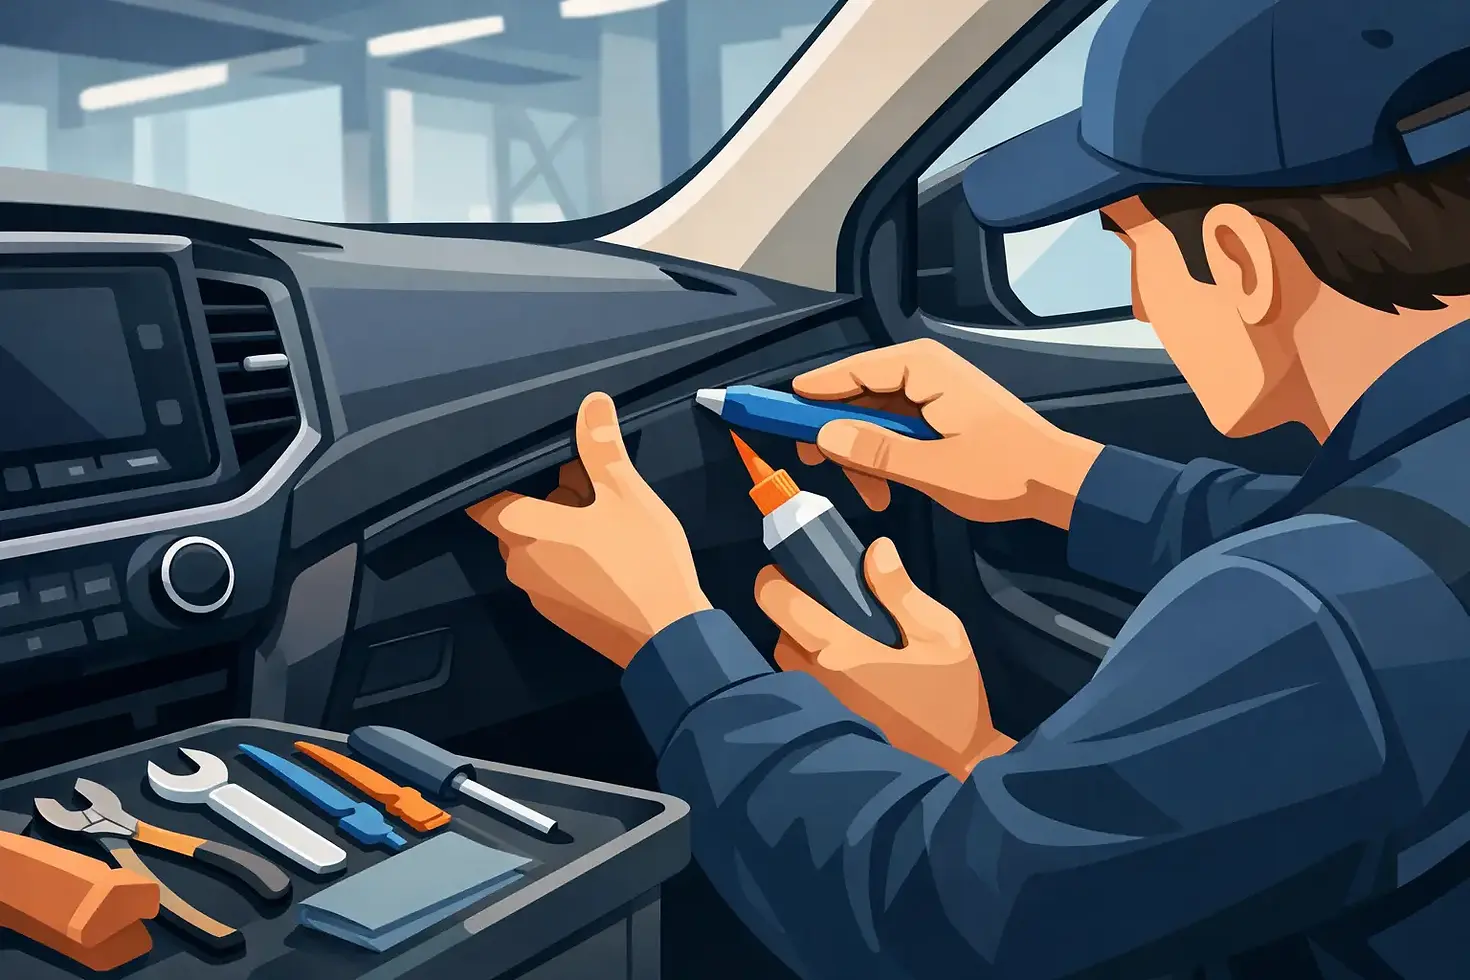
How to Fix Loose Car Trim the Right Way
That piece of trim flapping at highway speed is not just annoying. It is one of those small vehicle problems that quickly turns into a bigger one - lost parts, scratched paint, water intrusion, or a car that just looks worn out before its time. If you are wondering how to fix loose car trim, the right answer depends on why it came loose in the first place.
Some trim can be reattached in a straightforward way. Some cannot. The mistake most people make is grabbing the first glue they find and pressing the part back on. That might hold for a day, a week, or one hot Nevada afternoon. A proper trim repair starts with knowing what failed, cleaning the area correctly, and choosing a fix that matches the part, the surface, and the weather the vehicle lives in.
How to fix loose car trim without making it worse
Loose trim is usually caused by one of three things: failed adhesive, broken retaining clips, or warped trim that no longer sits flat. Sun exposure, age, vibration, car washes, and poor previous repairs all play a role. On older vehicles, you may be dealing with more than one issue at the same time.
If the trim is only lifting slightly and the part is still in good shape, you may be able to save it. If it is hanging, cracked, or missing clips, forcing it back into place often makes the problem more expensive. That is especially true around doors, rocker panels, wheel arches, and windshield moldings where trim does more than just look nice.
Before you repair anything, inspect the part closely. Look for cracked plastic, bent metal backing, old tape residue, broken tabs, and signs that moisture or dirt has been getting underneath. If the trim does not sit naturally where it belongs, adhesive alone will not fix the issue for long.
Start with the kind of trim you are dealing with
Not all trim is attached the same way. Exterior side moldings often use automotive double-sided tape. Wheel arch trim may use a mix of clips and adhesive. Interior trim pieces can snap into place with hidden fasteners. Window trim and weather-related moldings can be more sensitive because a bad repair may affect sealing and create rattles or leaks.
That is why the first step is identification, not glue. If the trim originally used clips, replacing broken clips matters more than adding more adhesive. If the trim was tape-mounted, surface prep becomes everything. If the part is distorted from heat, you may be looking at replacement rather than repair.
A lot of do-it-yourself trim jobs fail because the part was never cleaned down to a proper bonding surface. Old adhesive, wax, road film, and dust stop new material from holding the way it should.
The right way to prepare the surface
This is the part people want to rush, and it is usually where the repair succeeds or fails. Remove the trim carefully so you do not snap tabs or crease the piece. Then remove old tape or adhesive from both the vehicle and the trim itself. Plastic-safe adhesive remover can help, but it still needs patience.
Once the residue is gone, clean both surfaces thoroughly. You want a dry, oil-free, wax-free contact area. If the panel has been recently polished or detailed, leftover product can ruin the bond. On the vehicle side, inspect the paint too. If the clear coat is failing or the surface is damaged, no adhesive is going to perform the way it should.
Dry fit the trim before applying anything. It should line up correctly and sit where it belongs without a fight. If you have to bend it aggressively to make it fit, stop there. That usually means the part is warped or something underneath is out of place.
Choosing adhesive, tape, or clips
For many exterior trim repairs, automotive-grade molding tape is the correct choice. It is designed for trim, emblems, and body moldings and holds up far better than random household adhesive. Cheap tape is one of the fastest ways to do the same repair twice.
For trim that originally used clips, replace the clips if possible. Clips provide mechanical retention that adhesive cannot always duplicate, especially on parts exposed to wind pressure and road vibration. If the original clip locations are damaged, the repair becomes more involved and may require part replacement or a more custom solution.
Liquid adhesive has its place, but it depends on the trim. Some products bond well to certain plastics, while others become brittle, messy, or impossible to remove cleanly later. Super glue is usually the wrong answer. It can haze surfaces, crack under stress, and create an ugly repair line.
The best fix is the one that matches how the part was meant to stay on the car in the first place. That sounds simple, but it saves time and prevents repeat failures.
Applying the repair correctly
If you are using molding tape, apply it neatly and fully where the original contact points were. Do not stack scraps and hope for the best. Full, even contact matters. Press the trim into place carefully, line it up once, and use steady pressure. Most bonding products need time to set, and moving the car too soon can shift the part before the bond develops.
Temperature matters too. Very hot panels, cold surfaces, or dust blowing through your workspace will hurt results. If you are doing this in a driveway, choose a controlled time of day and keep the area clean. On a sunny Nevada day, panel temperature can be much higher than the air temperature, and that affects how tape and adhesive behave.
If clips are involved, confirm each one seats fully. A single misaligned clip can leave one edge proud, and that gap is where wind starts working the part loose again.
When loose trim is really a replacement job
There is a point where repair stops being the smart option. If the trim is cracked, shrunk, badly warped, or missing multiple attachment points, replacing it is usually the better move. Trying to save a damaged piece can lead to rattles, uneven gaps, and a repair that looks worse than the original problem.
This comes up a lot on older trucks, SUVs, and used vehicles where previous owners already tried shortcuts. We see trim held on with hardware store glue, screws through visible surfaces, and doubled-up tape over dirt. That kind of patchwork may seem cheaper at first, but it usually creates more cleanup and more labor later.
There is also the appearance side of it. A car can be freshly washed and still look neglected if the trim is lifting, crooked, or poorly reattached. For owners trying to improve resale value or simply make the vehicle look cared for again, details like this matter more than people think.
When professional repair makes more sense
If the trim sits near painted edges, glass, door seals, or hard-to-source parts, a professional repair is often the better value. Not because the job is impossible at home, but because getting it right the first time matters. A bad trim repair can damage paint, trap moisture, or turn a reusable part into a broken one.
A hands-on shop that does corrective appearance work will usually look at the full problem, not just stick the part back on. That means checking fitment, sourcing clips or replacement trim if needed, cleaning old failed materials properly, and making the repair look intentional instead of obvious.
That is especially helpful when the loose trim is only one part of a bigger appearance issue. Vehicles with faded moldings, adhesive staining, water spotting, or neglected exterior surfaces benefit from a repair approach that restores the area instead of just covering the symptom. Best Auto Detailing works on exactly these kinds of overlooked problems because they are the details that change how a vehicle looks and feels day to day.
A few mistakes to avoid
Do not use household double-sided tape, construction adhesive, or whatever glue is closest in the garage. Do not apply new adhesive over old residue. Do not ignore broken clips. And do not assume a part that keeps popping loose just needs more pressure.
If the trim keeps failing, the issue is usually the part itself, the mounting method, or the prep work. More adhesive rarely fixes a bad foundation.
Fix the problem, not just the symptom
The best answer to how to fix loose car trim is not always the fastest one. It is the one that keeps the part secure, protects the finish, and makes the vehicle look right again. Sometimes that means careful reattachment. Sometimes it means replacing clips or sourcing a better part. Sometimes it means letting a specialist handle the kind of repair that other shops brush off.
A loose trim piece may seem minor, but when it is fixed correctly, the whole vehicle looks tighter, cleaner, and better cared for. That is worth doing right.


Comments